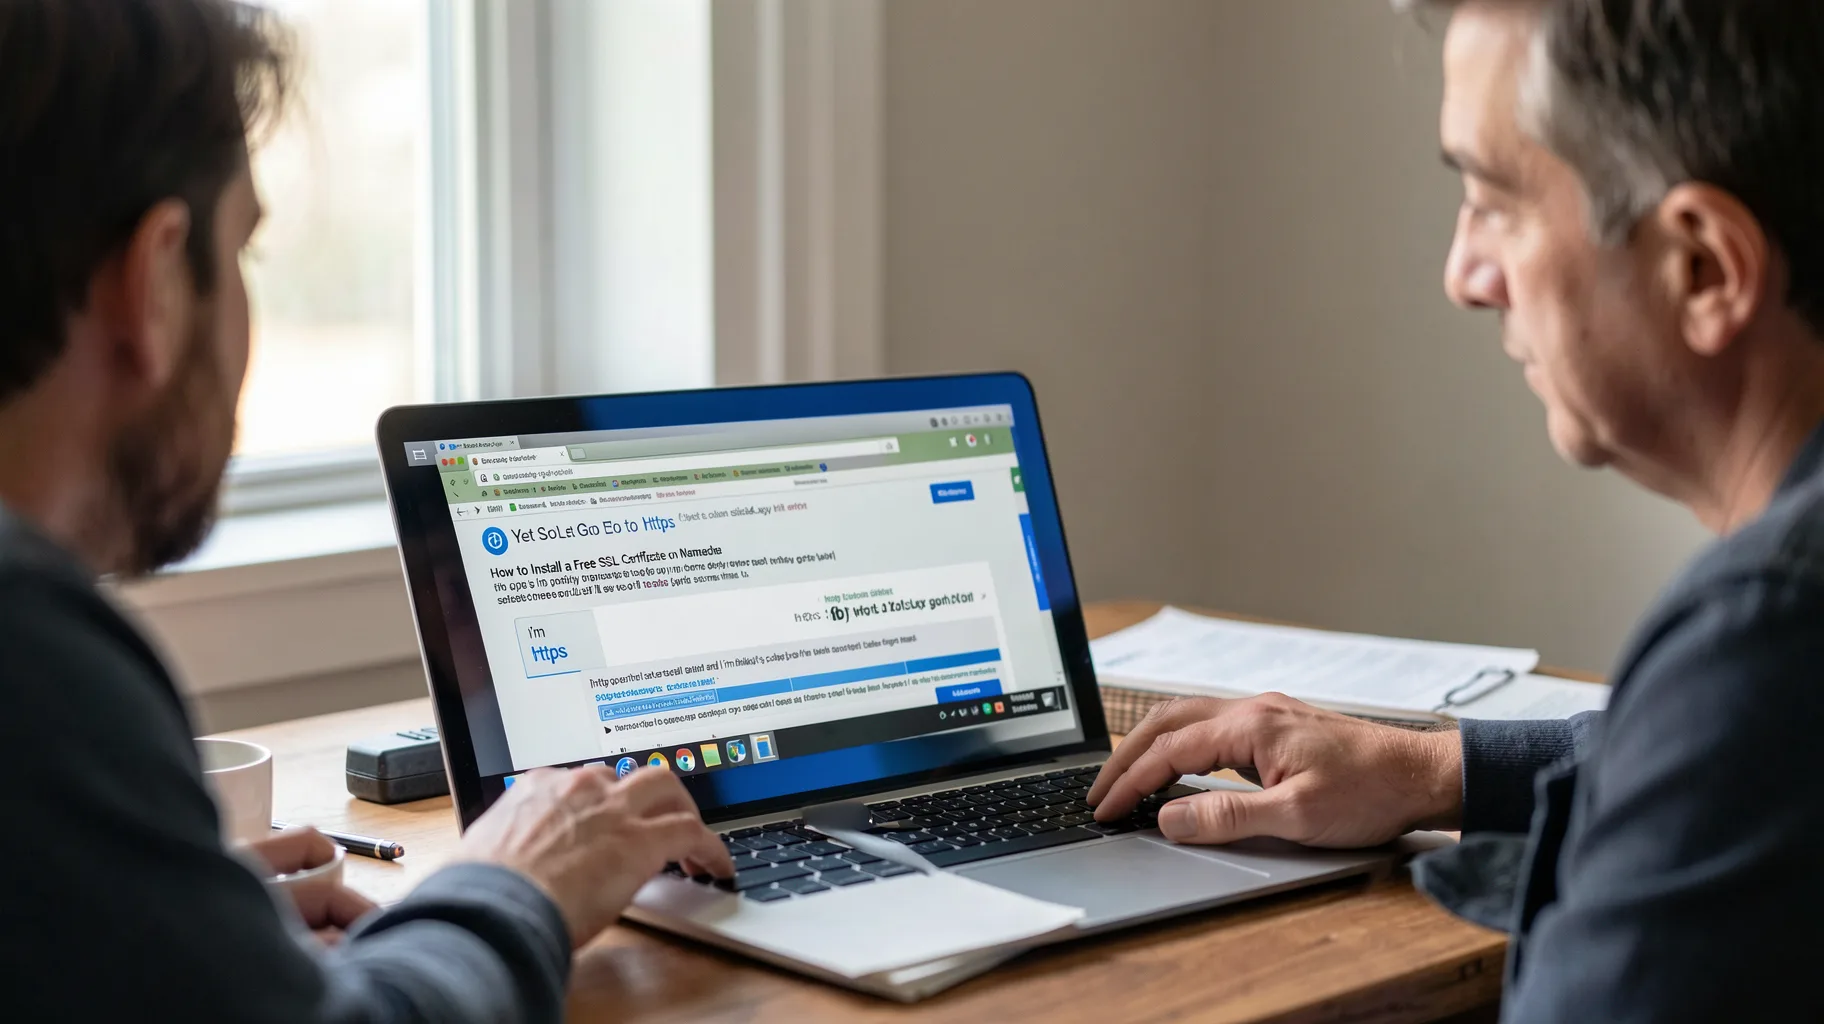
How to Install a Free SSL Certificate on Namecheap (with Let’s Encrypt)
hey everyone this is tony teaches tech i’m tony and in this video i’m going to show you how to install a free ssl certificate on your website that’s hosted with namecheap now typically namecheap gives out a lot of free ssl certificates for your first year that’s great but they don’t have the ability to you know by default get a free ssl certificate from let’s encrypt i think the cheapest ssl certificate that you can get is like 8.88 cents per year but if you know what you’re doing then you can actually install a free ssl certificate for any one of your websites or all of your websites if you have more than one and that’s what.
Have an Ssl Certificate Installed So If You
i’m going to show you how to do in this tutorial video so let’s go ahead and get right on into it i have this website site4.xyz hosted on namecheap we will confirm that in a second but right now it does not have an ssl certificate installed so if you go to https colon slash this website connection is not private it’s not secure we don’t have a cert installed so let’s go ahead and fix that i want you to go into your namecheap dashboard here log in with your username password and then go click on your dashboard tab depending on whatever uh plan you have with namecheap whether it’s the the business or you know there’s.
different types of types of plans you should have access to a cpanel so find the domain name that you signed up with and then click on this little server icon right here and then you can click on the link to go to your cpanel and i just want to point out that although the domain name associated with this product is not the domain name site4.xyz that’s still how you configure that domain name and all of your domain names within the 1c panel that you used to sign up with this domain name so anyway that opened up a new tab over here this is what cpanel looks like and what we want to do is come.
down here to the terminal which is in the advanced section click on that and this is going to open up a command prompt into the server which your websites are installed on so i have a bunch of websites as you can see here associated with this a lot of them aren’t active but this is just an example of the fact that you can host multiple websites and if you want to learn how to do that i have a video on that um anyway without getting off topic we’re going to use a script that is available publicly on github it has a lot of support in order to issue a let’s encrypt an ssl certificate which.
A Free Ssl Certificate for Your Website It’s
is free a free ssl certificate for your website it’s very legit i actually use it for all of my production websites at this point and let’s go through that process right now so we’re going to use the curl command to get that script on onto our server so curl https colon slash get dot acme acme dot sh and then uh pipe that to sh so what that’s gonna do is download this um and pretty much create a subdirectory here in your the root of your uh wherever you’re located right now your home directory called dot acme dot sh so if you look at dot acme dot sh we’ll see um an executable here we’ll see.
some other configuration files and that’s kind of how it looks like right now now in order to issue an ssl certificate for a domain name let’s just do an ls show you again that we do have site4.xyz hosted here and what we’re going to do is um execute this command with some arguments so we can do that relatively with dot acme dot sh and then the executable acme dot sh and we’re going to do dash dash issue d for domain the domain name that we want to issue the ssl certificate for so for me that’s site forward.xyz and then dash w and we’re going to give it the path to the full path to our.
are the root of our website which is right here so uh you can you could probably do this uh relative as a relative path but let me just cancel out of this i want you to do a pwd to see the the full path to that directory so we’re gonna do again actually i’ll just copy it to make it easier so what we just typed before dash w and then the full path so dot slash home slash c u g that’s my username and then site4.xyz which is the root of our website directory and then when we hit enter this will go ahead and verify that you own that domain name and go out to.
Get the Ssl Certificate and Put the Ssl
let’s encrypt get the ssl certificate and put the ssl certificate on your server now we this is this is actually the content of your ssl certificate right here there’s also and that that is contained within this file within the dot acme.sh directory we also have the key file for your ssl certificate the cert uh and the full chain so um the ca the certificate authority cert and then the full chain so what we have to do now is go back into cpanel and take these certificates pretty much copy and paste them into the ssl section of cpanel for this domain name so let’s do that next i think the easiest thing to do here is.
to just make this like half screen so we can still look at the terminal window and then make this one the other half something like this okay so um same thing as before find that cpanel link here in your dashboard and we’ll open that up again uh oh we’re not allowed to have two tabs open okay so we’ll have to do this um more manually so what what i want you to do is go to the ssl section here um actually you know what we’re gonna we’re gonna need to get those ssl certificates we’ll copy and paste them temporarily and then we’ll come back in here and get them again so okay so the ssl.
certificates are located in the acme.sh directory inside of your new folder in here called site4.xyz or whatever your domain name is and then you want to get your certificate so let’s take a look at that with cat site4.xyz shirt and then we’re going to copy this from begin certificate all the way down to end certificate so let’s copy that i’m just going to copy it off the screen here so i have it i recommend you do the same thing and then let’s see what else we got in here we have the do we’re probably going to need the key which is right here so let’s copy that we’ll cat the key as well and then.
To That Ssl Section Click on Ssl Tsl
we’ll go from end rsa private key up to begin rsa private key so we’ll copy that paste it now let’s go back to our cpanel go to that ssl section click on ssl tsl under security we don’t want the name cheap ssl we want this one click on that and we want to under the install and manage ssl for your website click on manage ssl sites and then down here at the bottom we want to install an ssl website so pick your domain name from the list i’m going to pick site4.xyz and then i’m going to go back over here to where i copied the certificate um copy that and paste it into here and.
then the private key back over here i’m going to copy that and paste that in and um the thing about the any of it says it here in most cases you don’t need to supply the ca bundle so we had the ca bundle you remember that but um you can optionally fill that in too if you want to but what i’m going to do is install this this should be sufficient and that’ll take a few seconds okay so ssl host successfully installed for site4.xyz hit ok let’s go back to our website and verify that that’s actually the case so if we refresh the page we’ll still get the http version but if we explicitly go.
Yet So Let’s Go to Https Colon Slash
to https colon site4.xyz hit enter we do get that error still and i’m thinking it’s probably a caching issue so i’m going to open up my chrome dev tools and make sure the disable cache option is selected here and i’ll see if that works so refresh the page and give it some time to think nope that did not work so what i’m going to do is get out of this window altogether open up an entirely new guest window because i am still thinking it’s a caching thing or maybe it’s a timing thing and it just hasn’t propagated yet so let’s go to https colon slash site 4.xyz hit enter moment of truth nope we’re still.
getting connection is not private um and it’s not secure that is so so odd uh let me pause the video and i’ll catch back up with you when i figure out what’s going on here okay guys i’m back and it was literally just a matter of time probably 30 seconds later i refreshed the page and the uh the https version of the website worked as you can see we have the like the lock icon up here um so let’s take a look at our certificate which like i said uh was issued by let’s encrypt so um that’s about it if you have any questions about this let me know in the comments below i’ll do.
My Best to Help You Out
my best to help you out if you got any value of this video please give it a thumbs up subscribe for more videos from me like this in the future and if you do i’ll see you in the next one [Music] you.